The Media Library Screen allows you to edit, view, and delete Media previously uploaded to your blog. Multiple Media objects can be selected for deletion. Search and filtering ability is also provided to allow you to find the desired Media.
Media Library provides two type of views. One is simple visual Grid View and another is conventional List View. Switch between these views using the icons to the left above the screen
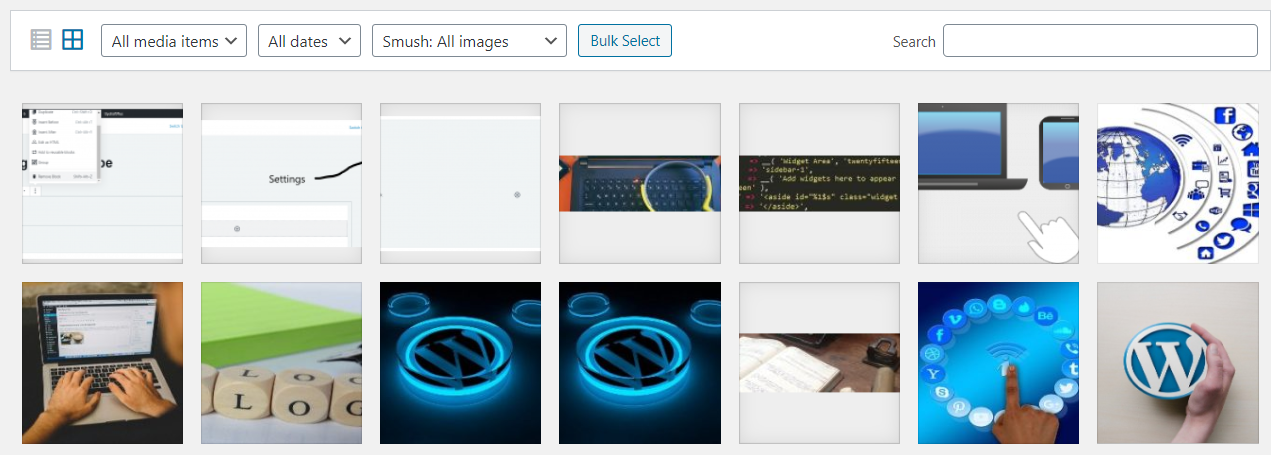
Media Library Grid View
As you can see from the screenshot below In Media Library Grid View, thumbnails of image, Audio icons and Movie icons are arranged in the grid.
Filtering Options
At the top of the grid view, you can filter different kinds of media that you have in your library by media type and date:
All Media items
This drop-down allows you to select, by media types such as Images, Audio and Video or Unattached to any Posts nor Pages, which Media are displayed in the Table of Media. By default, “All media items” are selected and all of your Media are displayed.
All Dates
This drop-down allows you to select, by date, which Media are displayed in the Grid View. By default, “Show all dates” is selected and all of your Media are displayed.
To the right, is a Search box where you can enter a word, or series of words to search and display all the Media meeting your search words. The search results will be updated as you type.
Delete Media
To delete any of your media items, click on the Bulk Select button next to the filtering options. Select the items you want to to delete, then click the Delete Selected button. Clicking the Cancel Selection button will cancel the Delete action and return you to your media library.
Attachment Details
When you click on a image thumbnail, audio icon or video icon within your media library this will display an Attachment Details dialogue, which allows you to preview media and make quick edits. Any changes that you make to your media will be automatically saved. You can also delete individual items and access the extended edit screen from the details dialogue. Use the arrow buttons at the top of the dialogue, or the left and right arrow keys on your keyboard, to navigate between media items quickly.
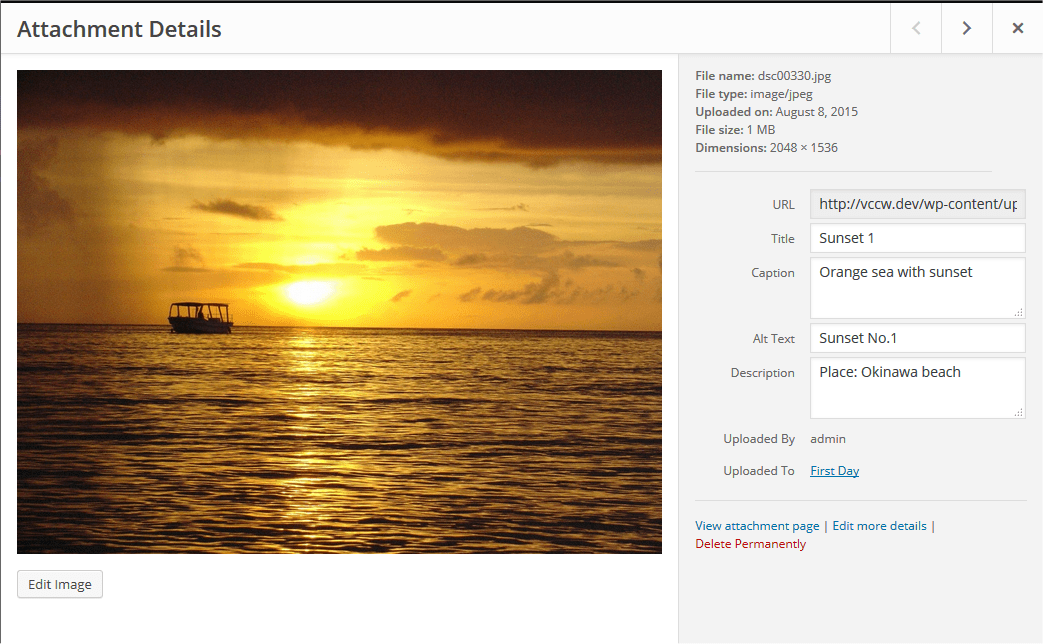
Attachment Details changes its appearance and information by media type. The left side of this dialogue shows the Image, Audio player or Video player. The right side lists the following media file attributes and optional data. Some of them are editable from this dialogue.
- File name – The name of media file
- File type – The MIME Type of media file
- Uploaded on – The date when media file was uploaded
- File size – The file size of media file
- Dimensions – (Image files only) The dimensions of image media
- URL – Read-only display of a direct link to the media file.
- Title – The name of the media. A title is often shown on attachment pages and galleries if themes or plugins are designed to display it.
- Caption – A brief explanation of the media.
- Description – An explanation of this particular media.
- Alt Text – (Image files only) The alt text for the image, e.g. “The Mona Lisa” to describe the media. Used for accessibility.
- Artist – (Voice files only) Singer, composer or producer of this media.
- Album – (Voice files only) Album title that includes this media.
- Uploaded By – author who uploaded the Media.
- Uploaded To – Title of the Post or Page that contains this Media. Click on the title to view that Post or Page in an edit Screen. If the Media was unattached to any Post or Page, this line does not appear.
At the bottom there are three link menus:
View attachment page
Shows the media in a simulated view of how the image would look when displayed in your Theme.
Edit more details
Displays the Edit Media Screen.
Delete Permanently
Deletes the media. Also, image files has Edit Image button at the lower left
Edit Image
(Image files only) allows you to make edits such as rotate, scale, and crop.